It’s winter time and in the Northeast it can get pretty cold. Sometimes just too cold to spend more than 20-30 minutes outside at a time. So, we have to come up with indoor activities that will get my children’s bodies and minds moving enough to be able to fall asleep at night. Also, like many there are no bible classes for our children and as it has always been important to teach our children at home it is now more than ever so important that they get their bible at home. So, along with these activities are ideas on how to incorporate bible stories to teach to your children. These can be as basic or in-depth as the age of your child allows. Below are 5 simple indoor activities that keep my children engaged mentally and physically.

1. Bath Time:
ANY time of the day. Have a cranky baby? Bath time. Messy toddler? Bath time. Fighting siblings? Bath time. Add some bubbles, cups and bowls, throw in a few plastics animals and you have a great time. Bath time in general is great for hand/eye coordination (using cups to pour), sensory (hot or cold water, smell of soap, sound of water pouring), color recognition (only using blue toys), cause and effect (what happens when I splash in the water- it gets in my eyes), and float and sink. After they have played a little and let out a little energy, take the time to share with them a bible story. Jonah perhaps. So, remove the extra toys and use a boat, a person, a fish, the number 3 to help them focus on the story.
Looking for a bath time toys? Friends of ours just started their own Bath Toy Subscription: @bubblesandjoycompany on Instagram and https://bubblesandjoy.com
2. Obstacle Course:
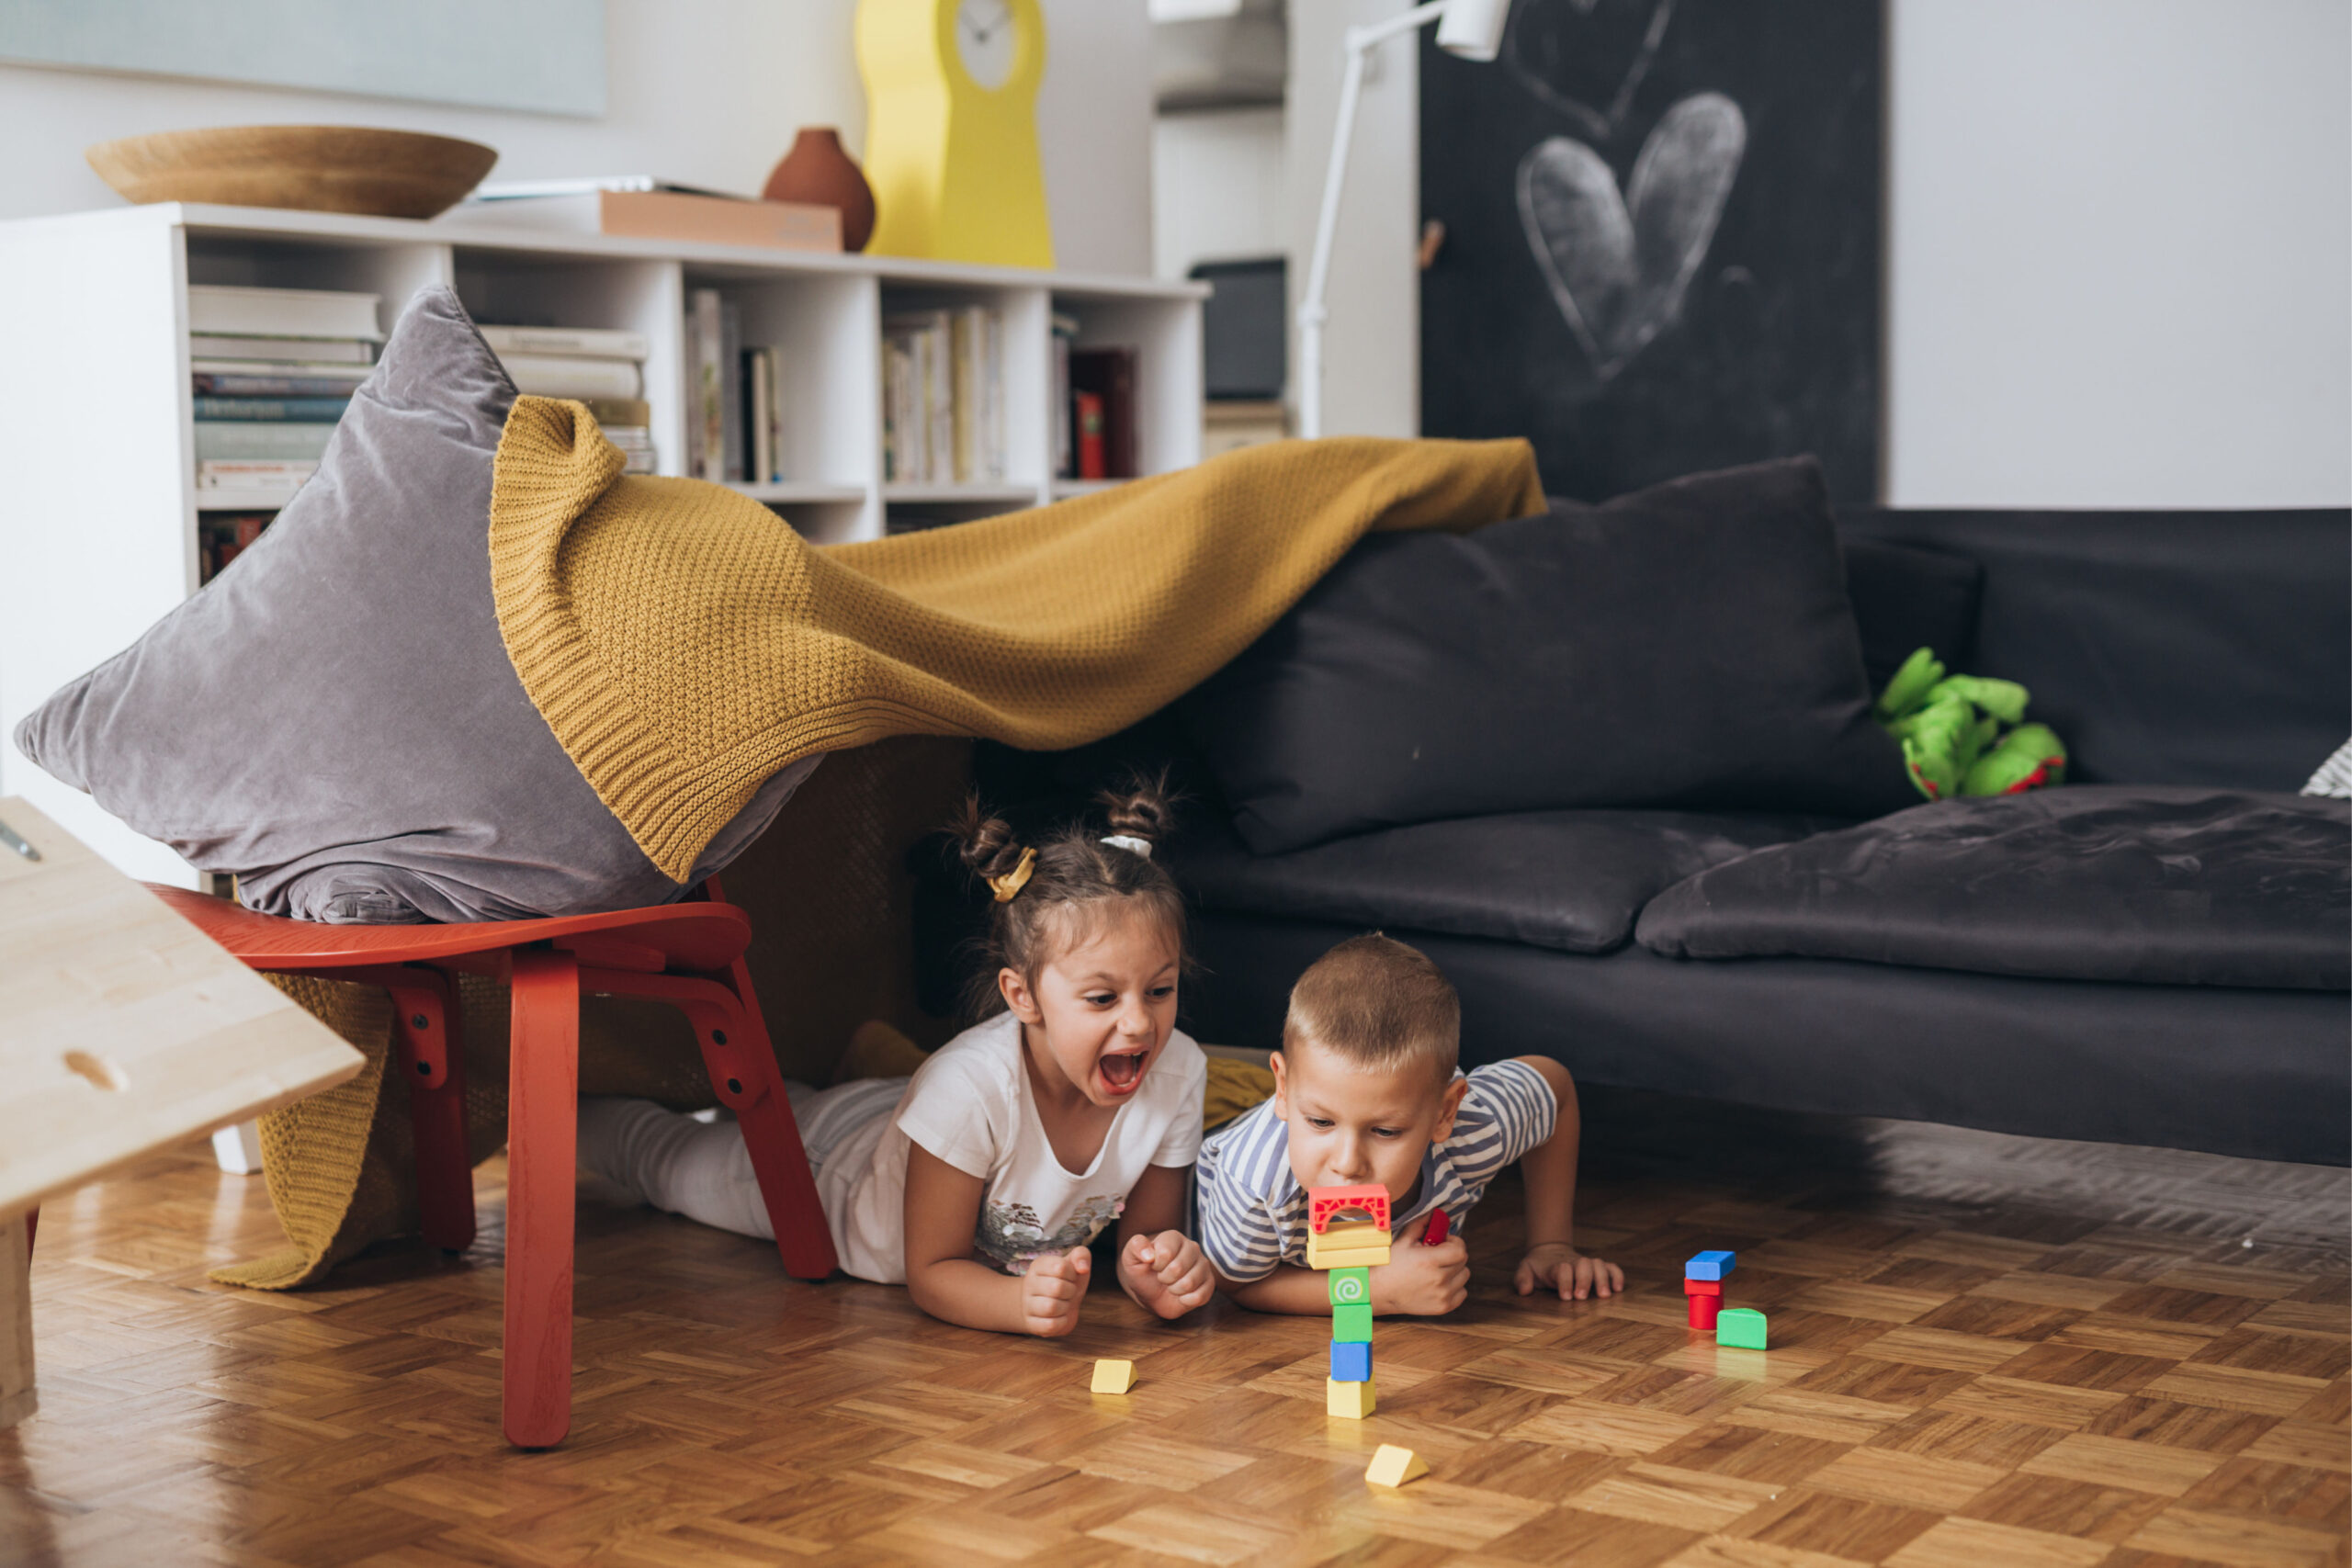
Use majority of your house for this one. Take the pillows off the couch and bed, use the kitchen table, beds, scooters, balls, baskets, etc. Get creative! Have them crawl over the couch cushions, under the kitchen table, around the carpet, jumping over crayons, building a tower of ten blocks (you could draw or print numbers or designs you want them to emulate), etc. This is probably the best one for gross-motor and getting their energy out. They are using physical: fine and gross motor, mental: building and counting blocks, emotional: helping another person. For the bible lesson, I chose the Good Samaritan. If someone fall or gets hurt this is a great time to practice “being the Good Samaritan. If you only have one child, take turns with your child being the one hurt and the good Samaritan.
3. Sensory Bin:
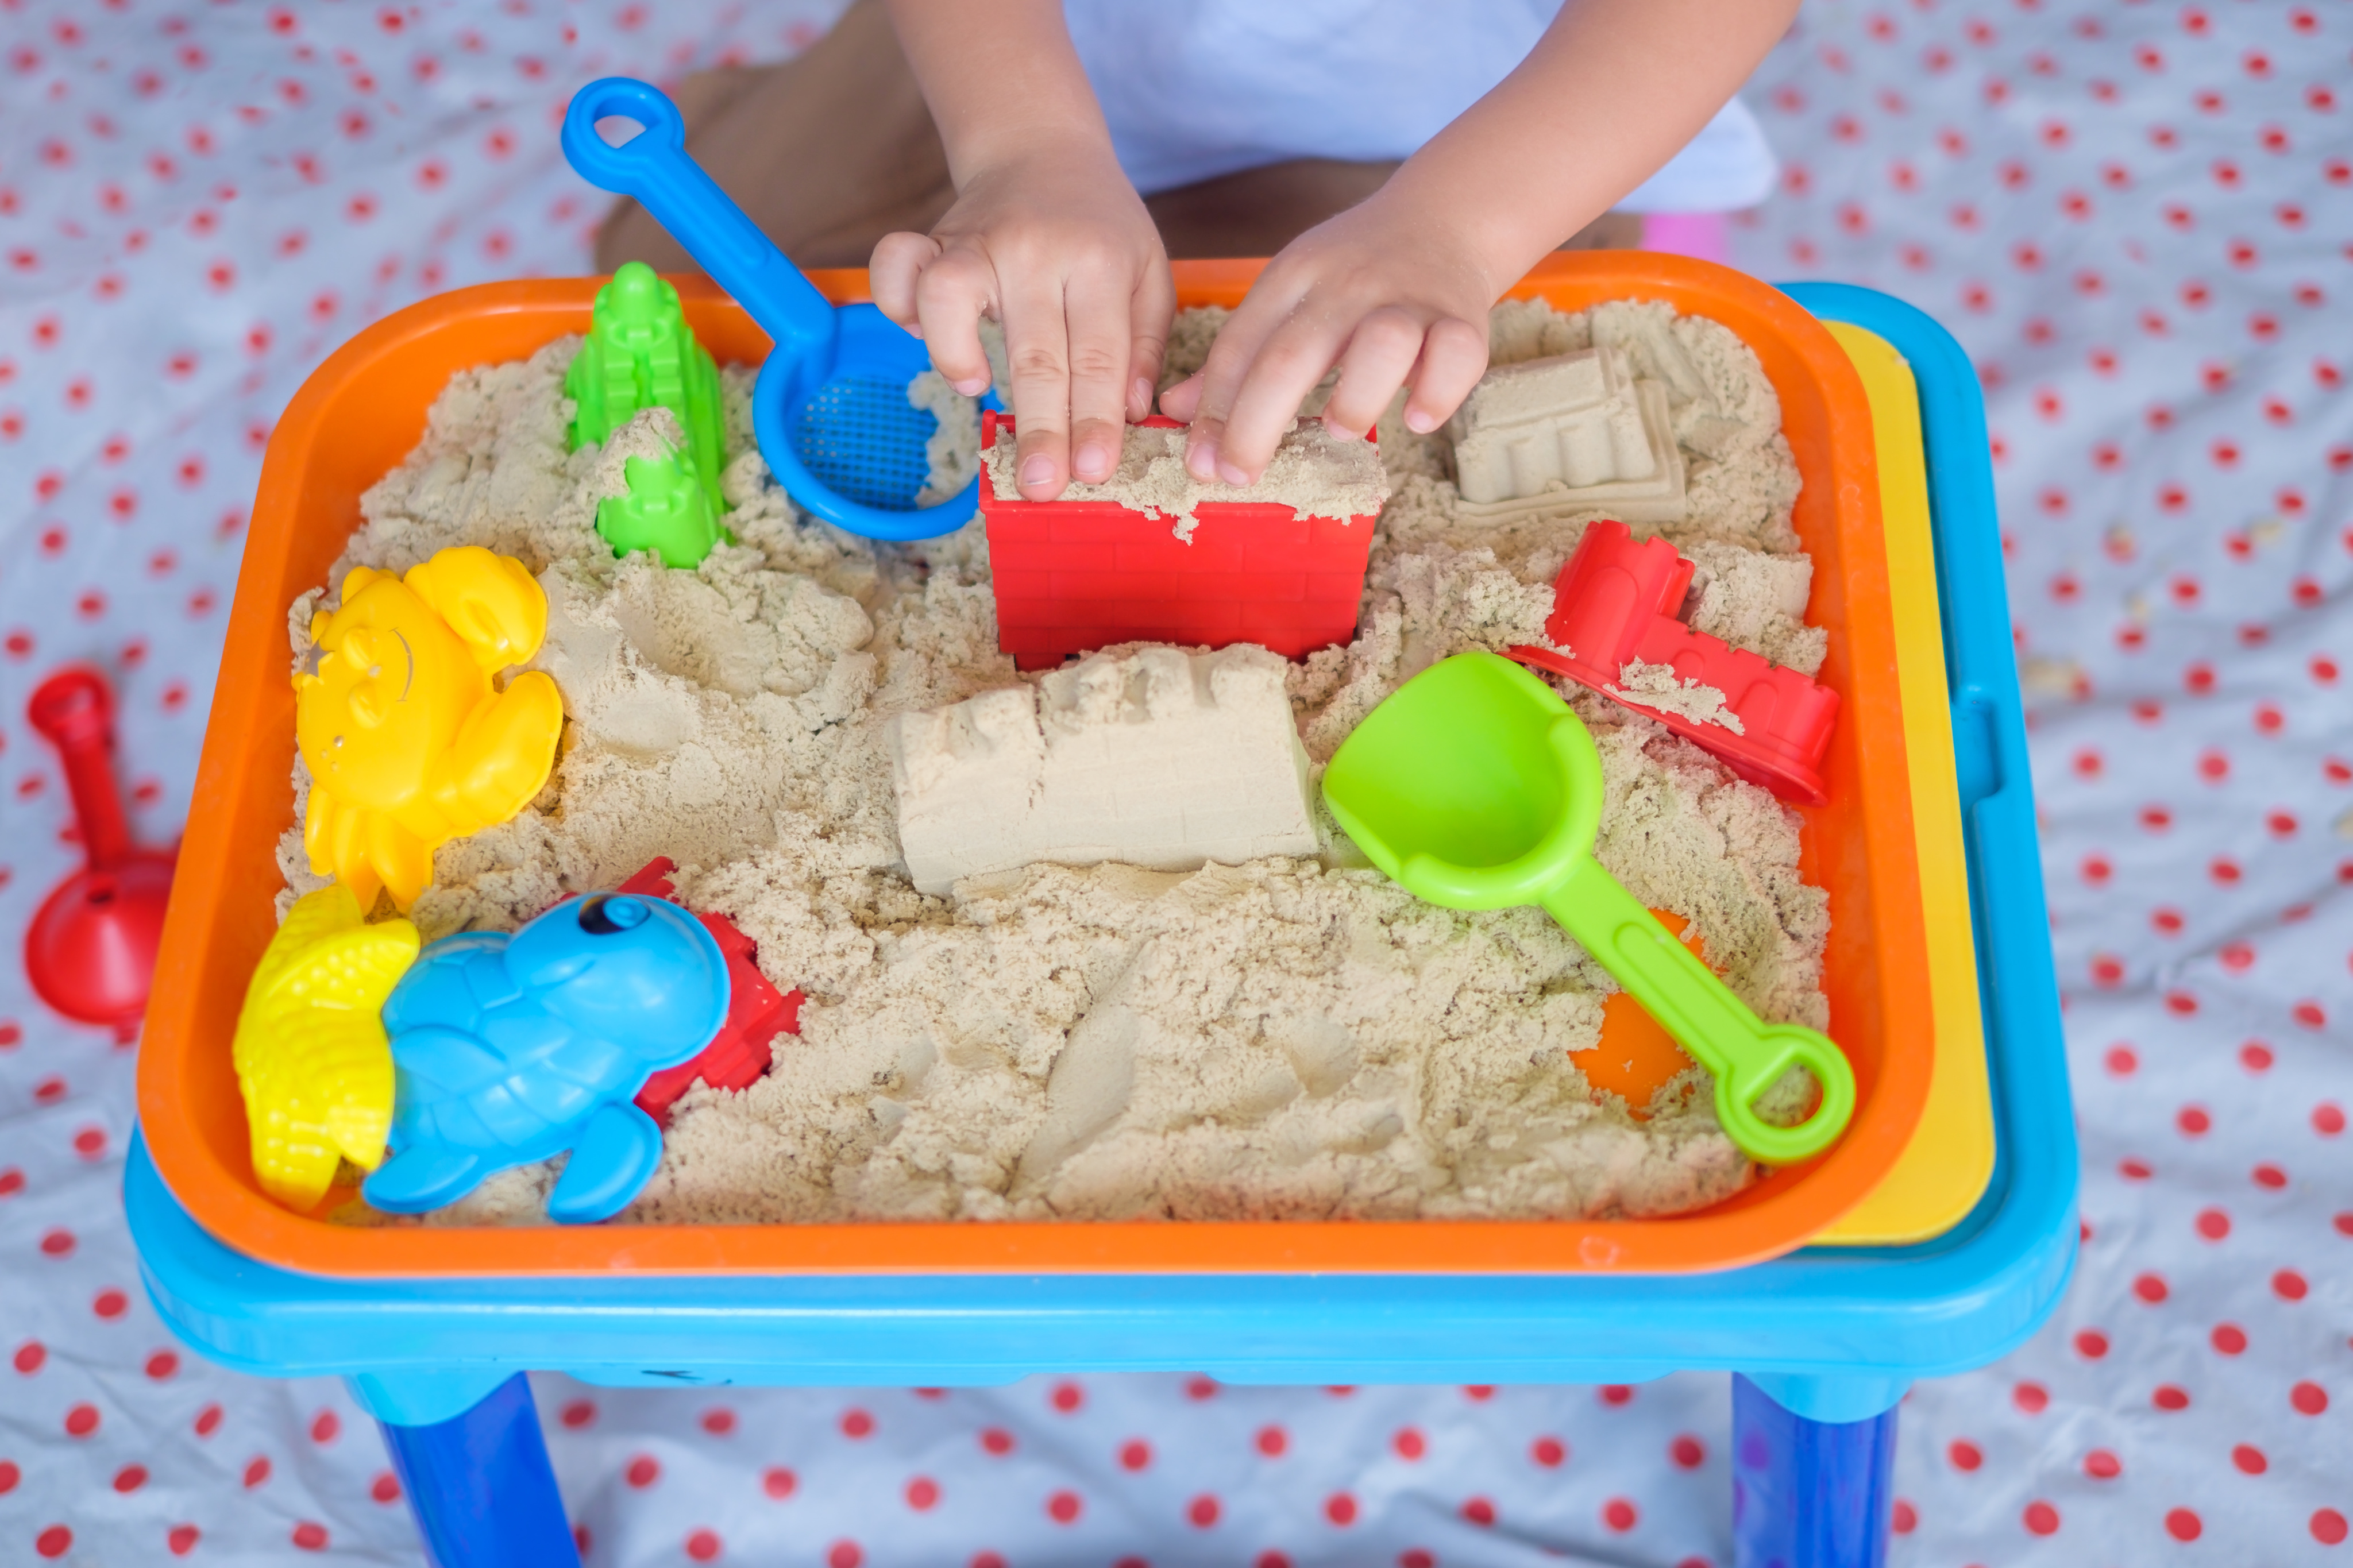
These can be filled with any base: sand, rice, beans, cotton balls, water, wrapping paper, ribbon, water beads, the options are endless. Then you add the details like letters, numbers, animals. A great resource for sensory bins is @busytoddler. I love how open ended this one is. You can fill a sensory bin with any items and it create a story. For example, you could throw in animals and a boat and you have items to talk about Noah’s ark. You could throw in numbers, plant/tree, star, animal, man, and you have days of creation. If you use water, you can wash dishes or baby dolls and talk about baby Moses. Don’t forget to make sure you are watching and sensory bin is developmentally safe for the child.
Click to learn the story of Moses
4. Blocks/Magnatiles:
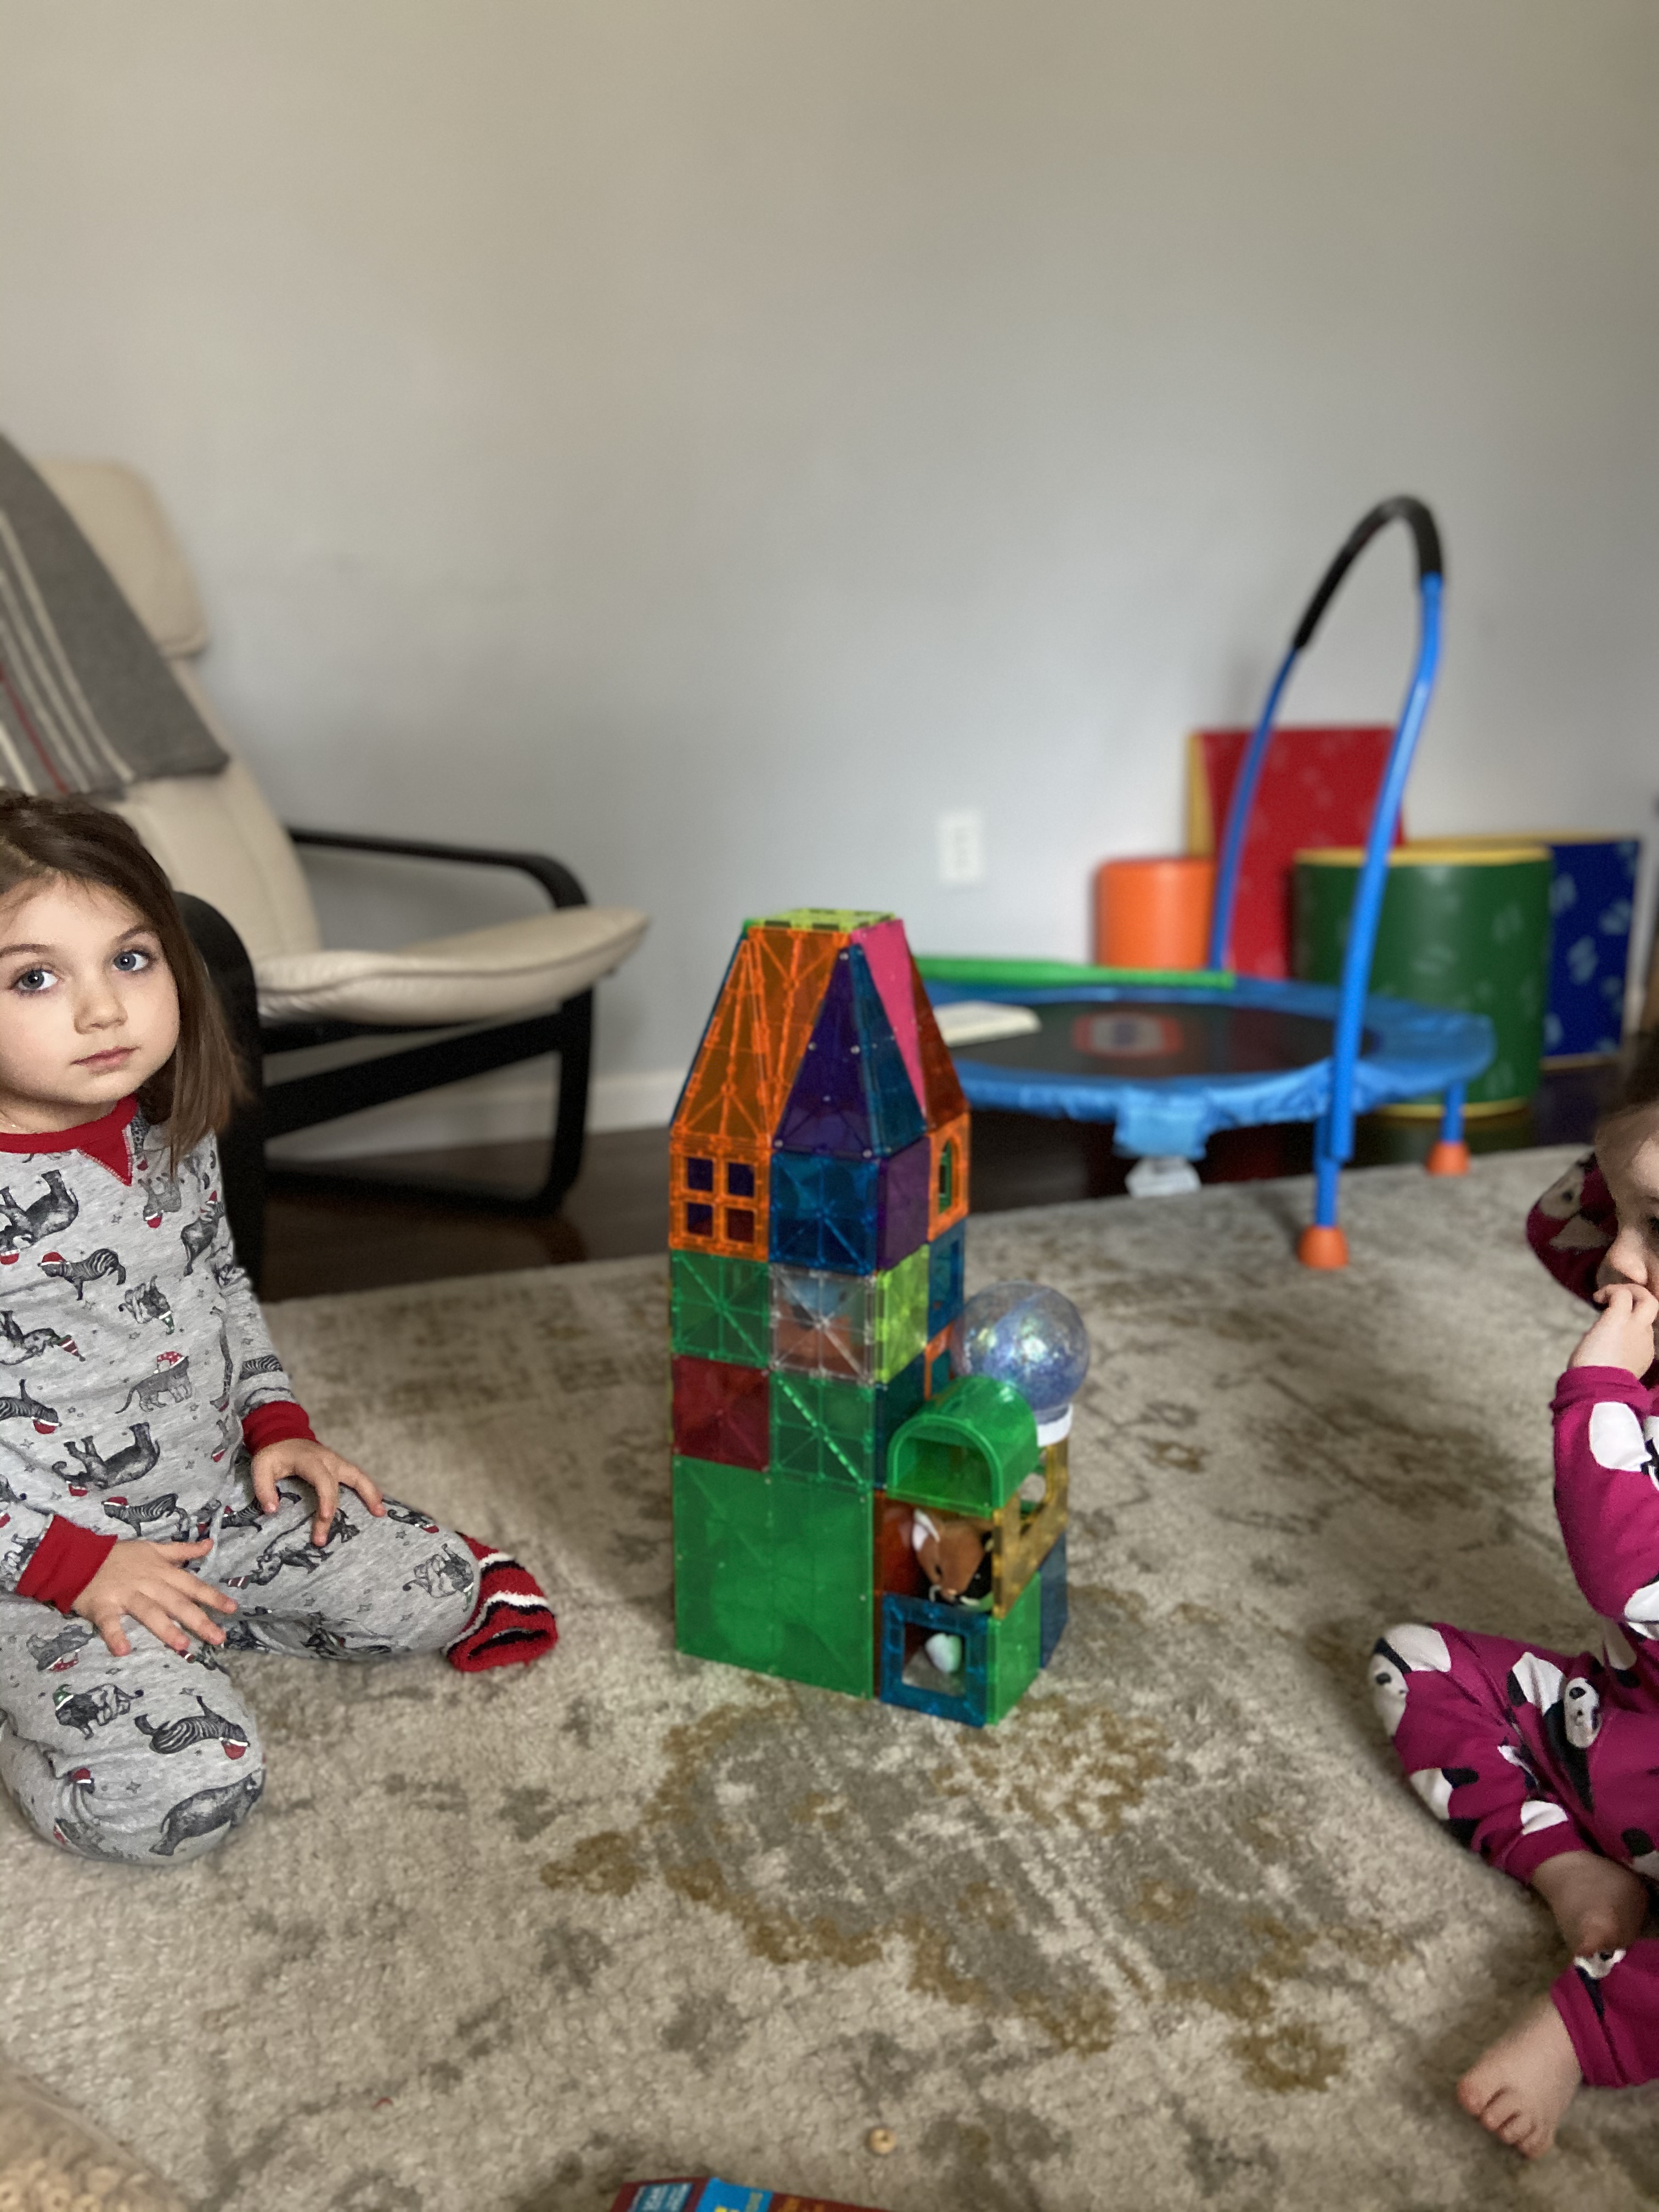
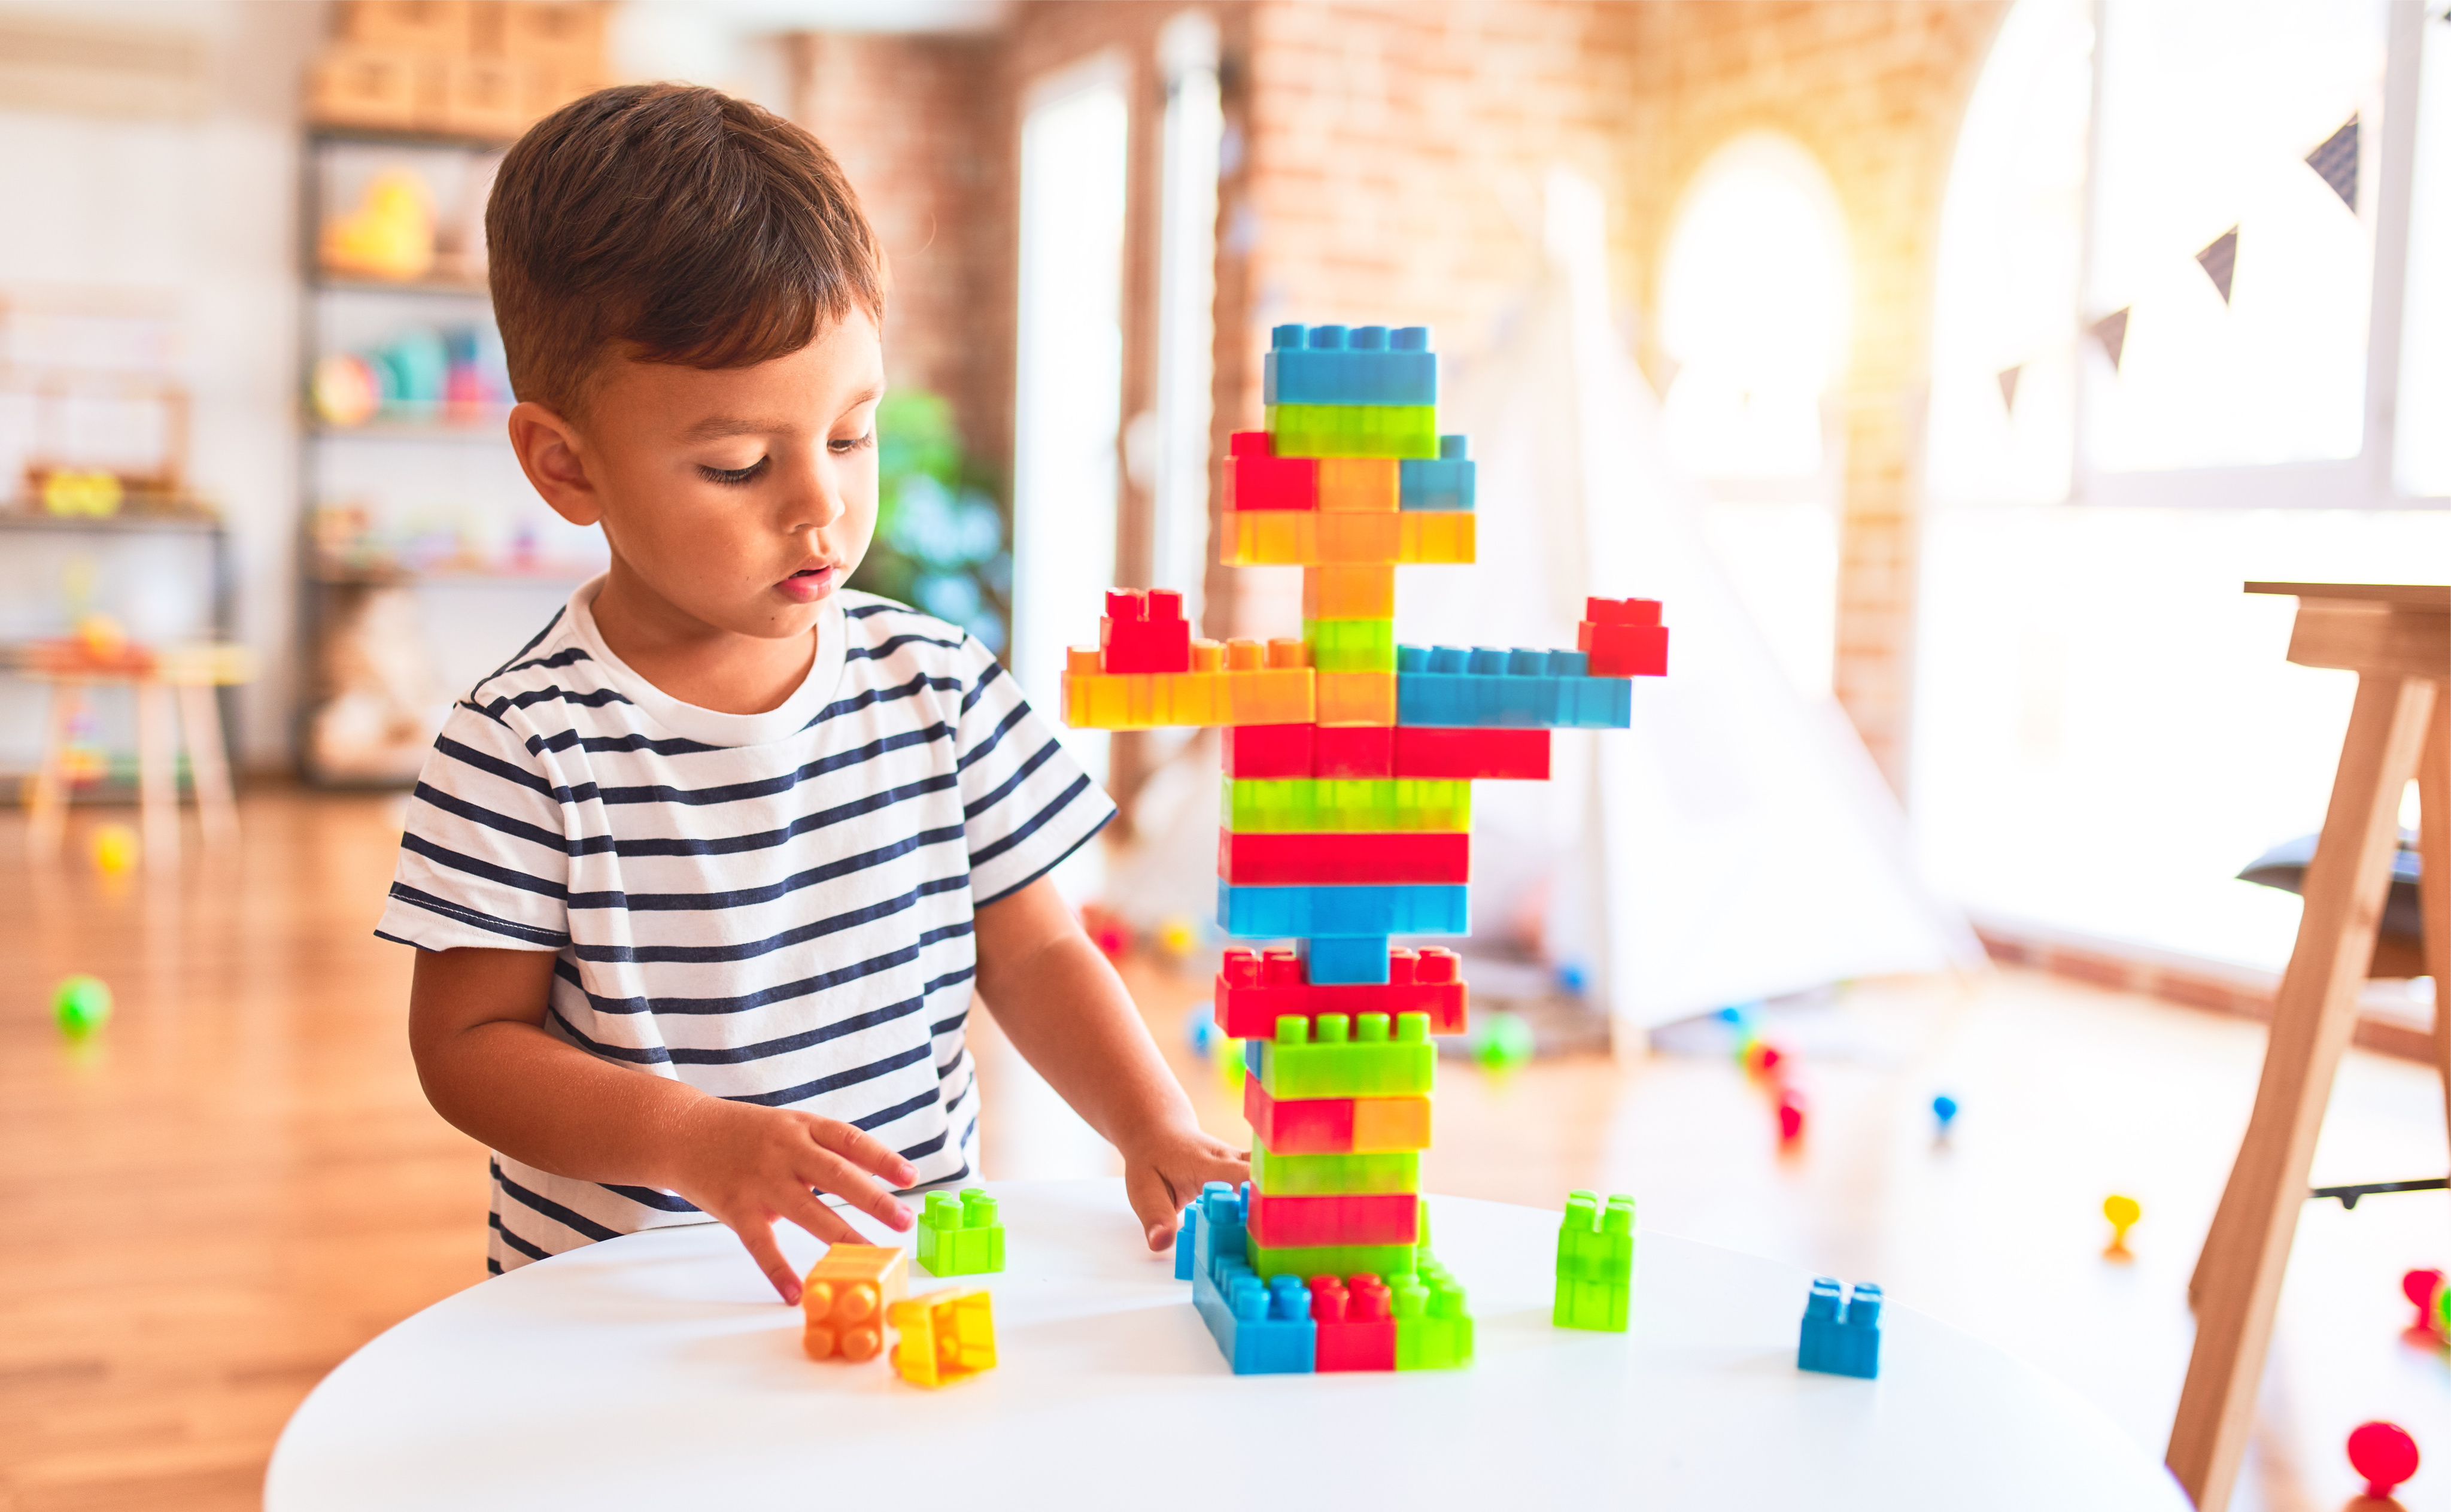
If you haven’t seen Magnatiles, they are worth the investment (there are off brands on amazon and other sites, I have even seen them at Aldi). They are plastic shapes that contain magnets that help them stick together. You can build very simple designs to more intricate as they get older. They learn stability, patience, shapes, colors, counting, etc. You could print out pictures of city buildings or rural and suburban houses and have them copy the shape.
For the bible lesson I chose, Joshua and the Battle of Jericho. Grab some people (toy or human), a toy trumpet (or make one using a paper towel roll or good old fashion paper, rolled up).
Click to learn the story of Joshua
Click to learn the song, Joshua Fought the Battle of Jericho
5. Homemade Play-dough:
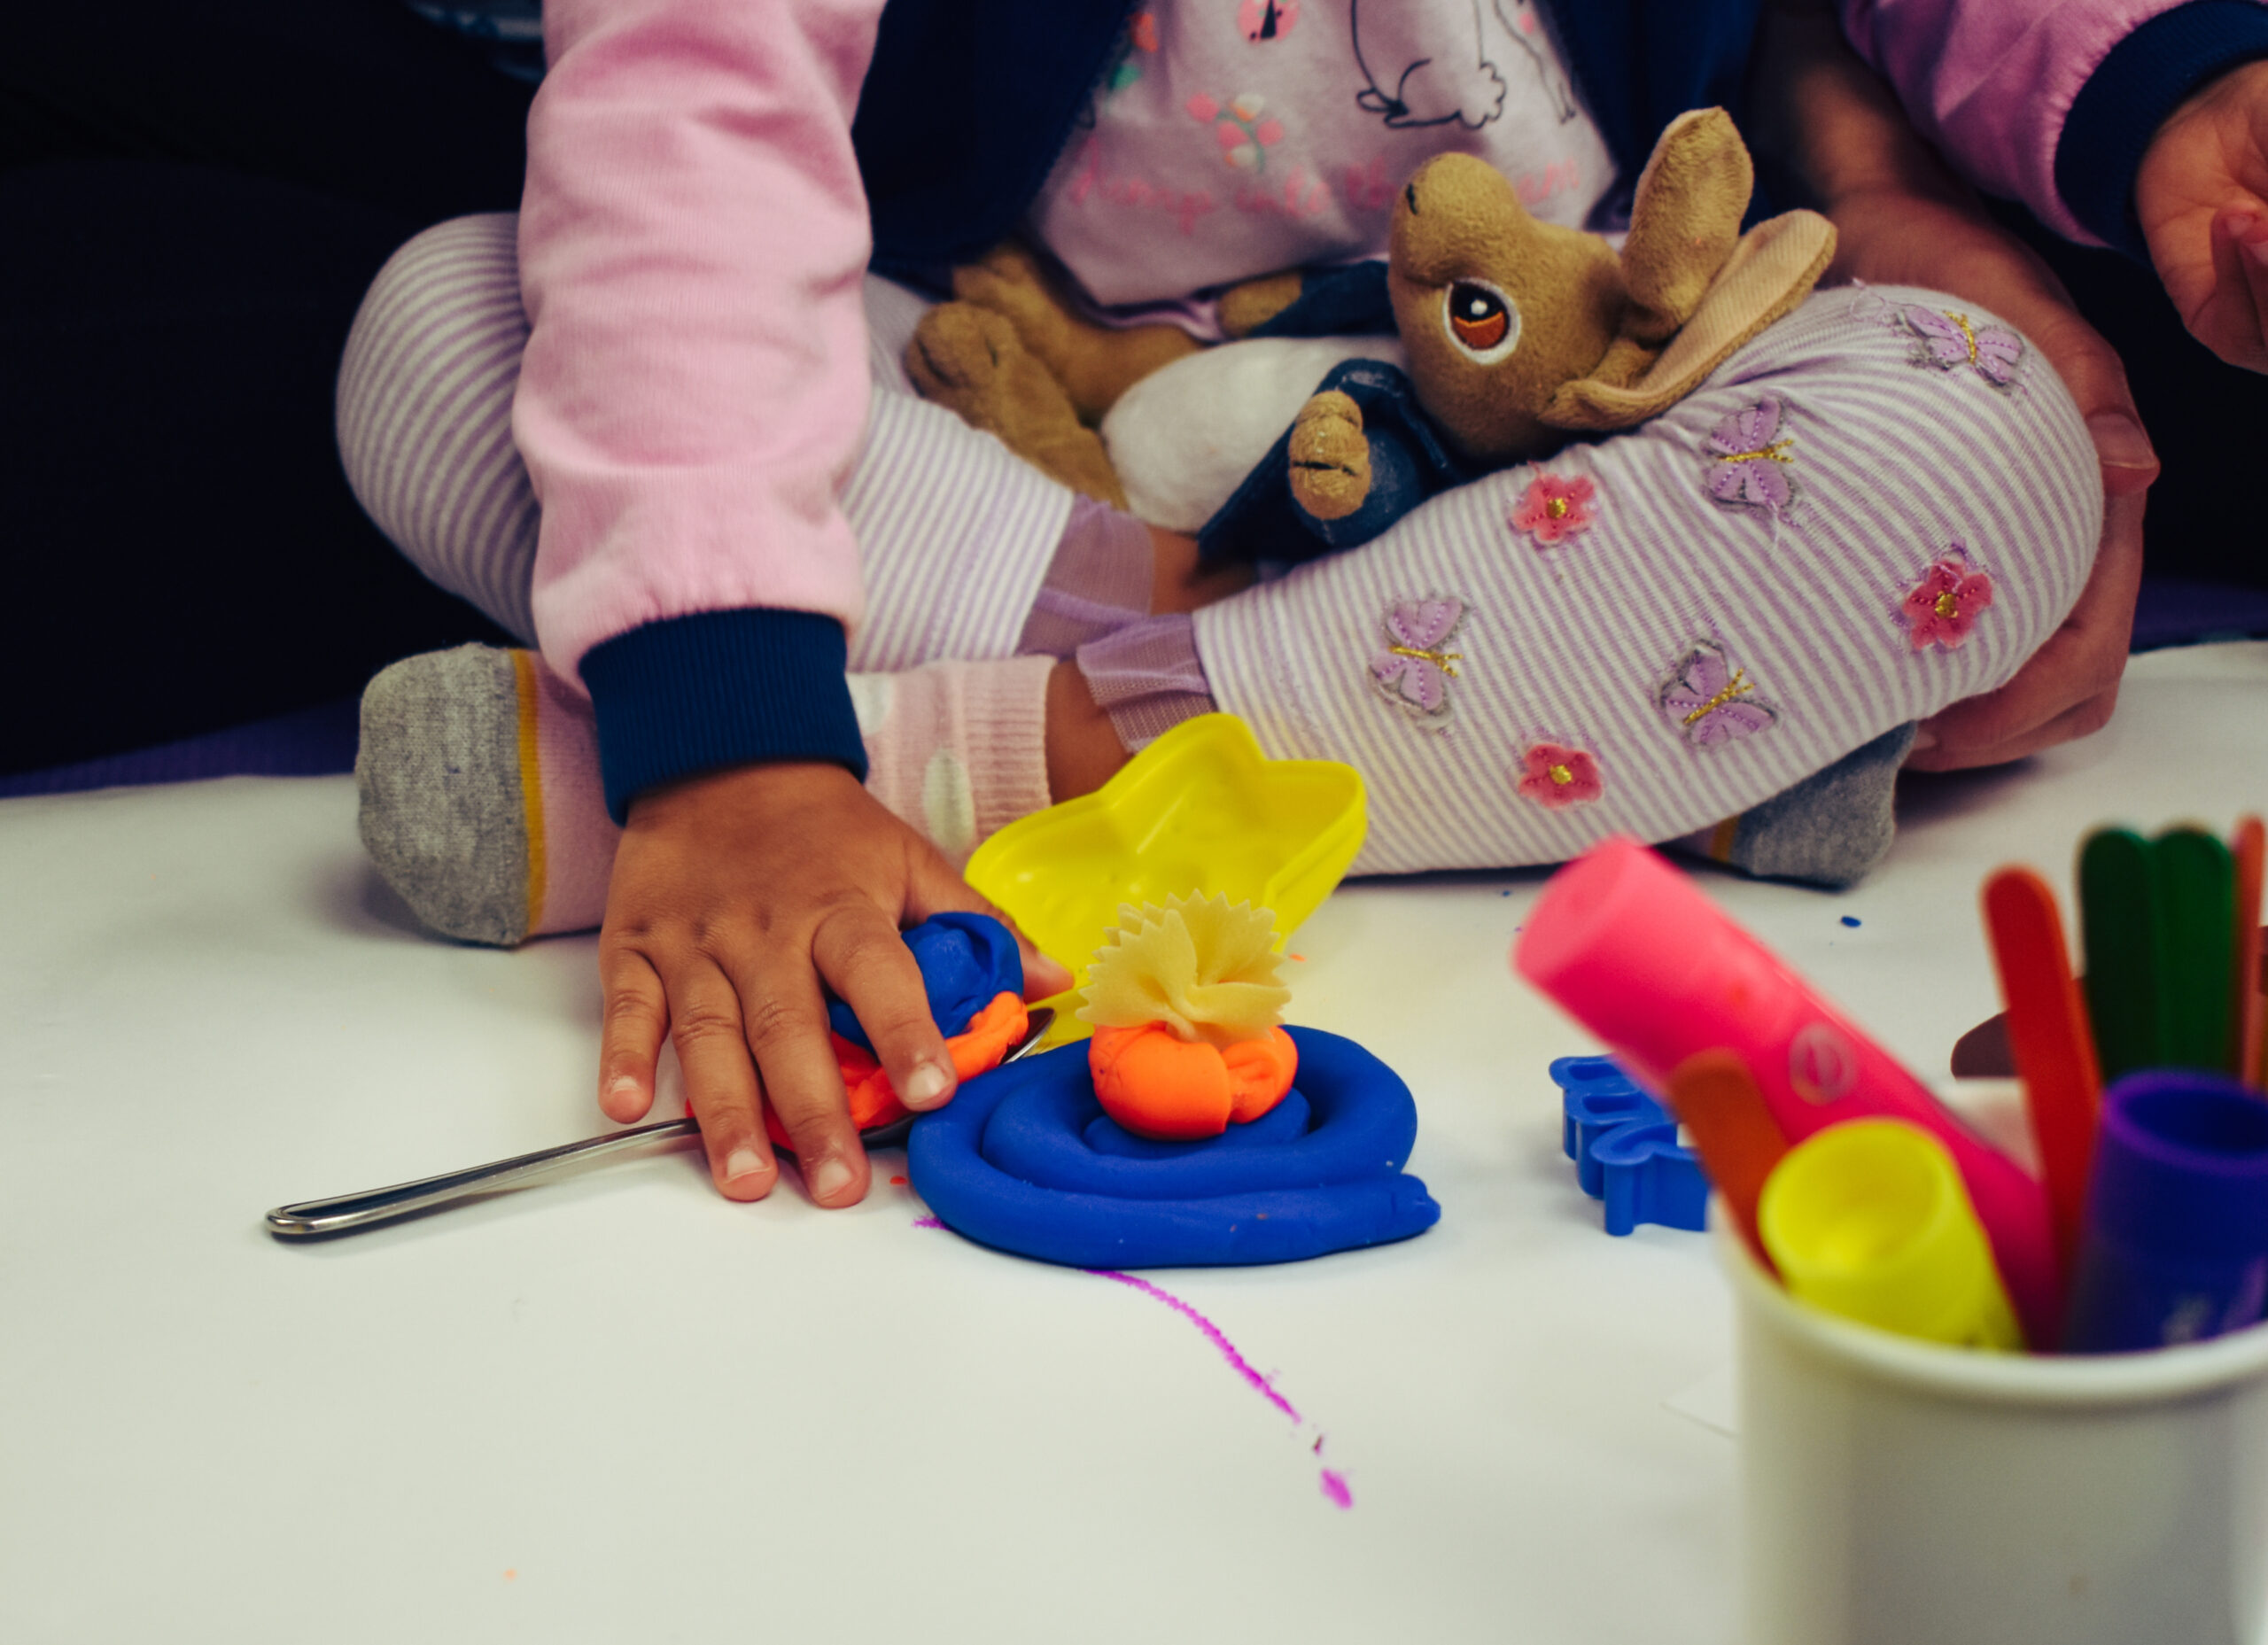
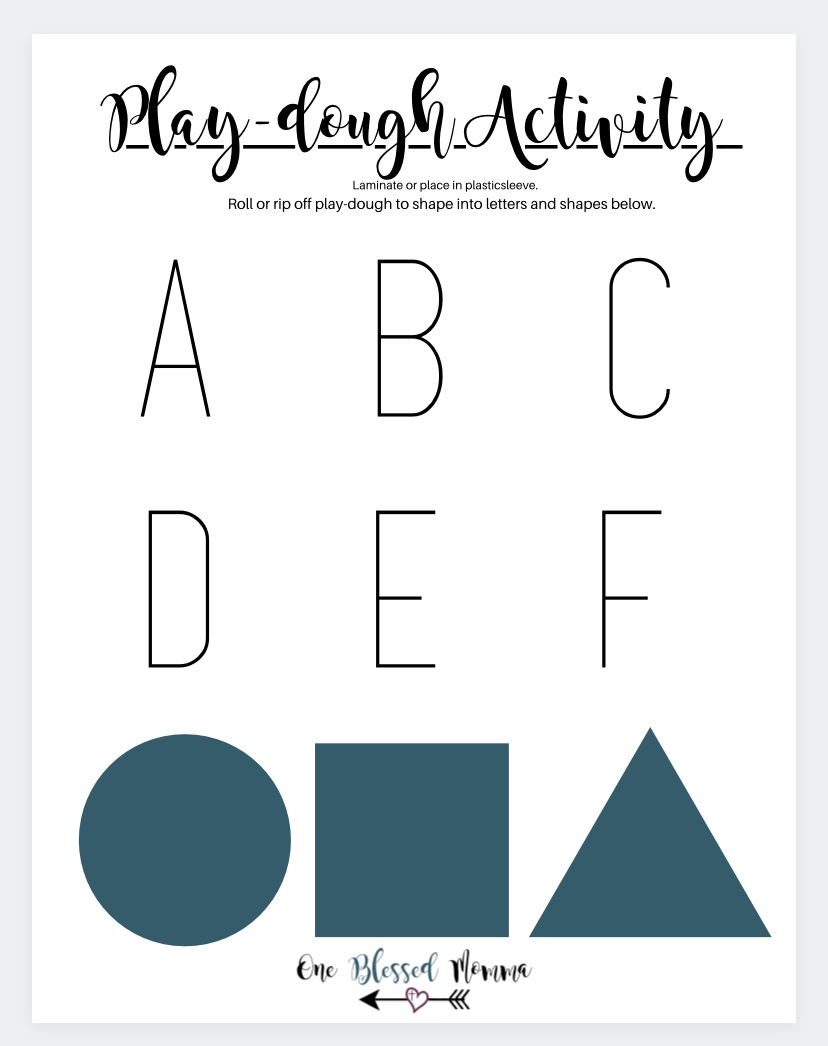
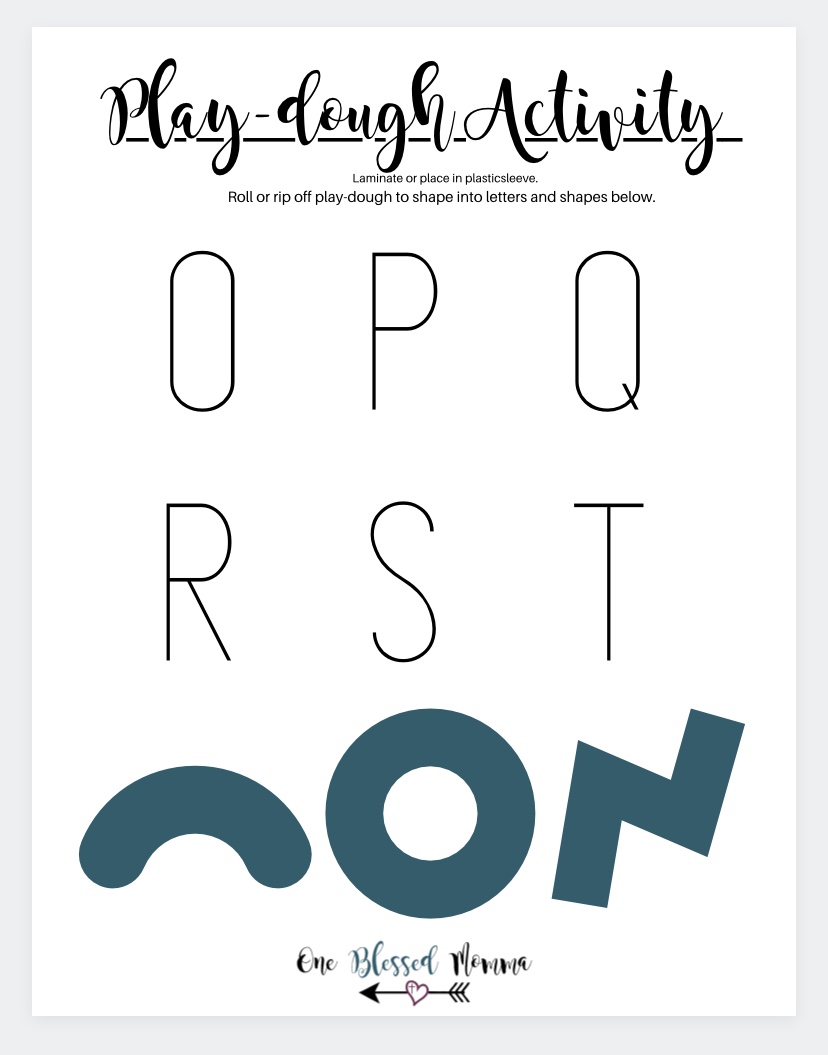
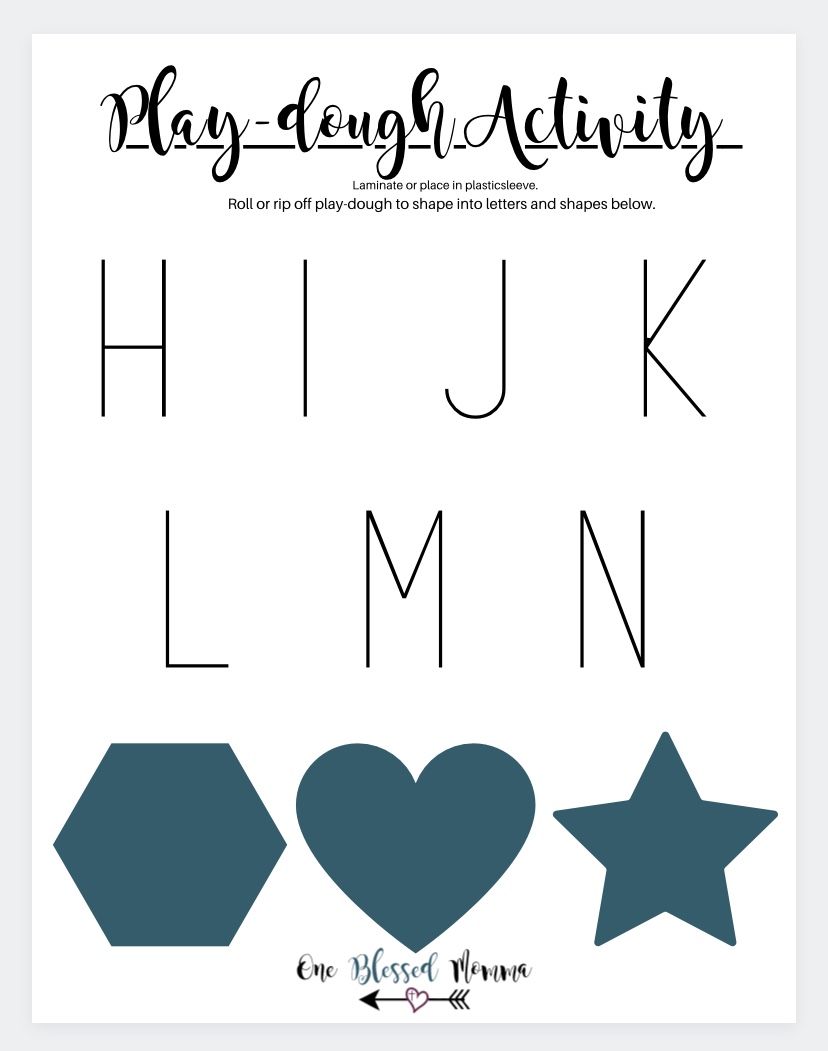
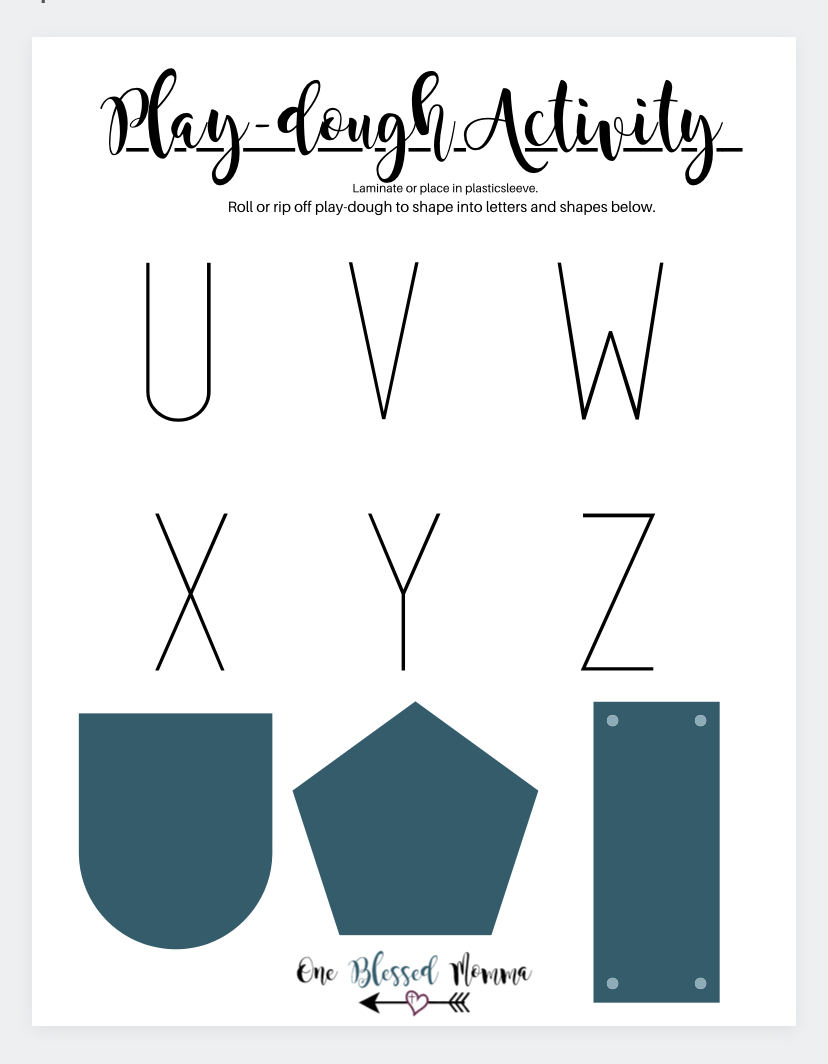
Check out our instagram page @one.blessedmomma and on Melinda’s post she gives a recipe of how to make your own play-dough. If you have a young one you can place the play-dough in a gallon size ziplock baggy, tape it down and let them push down and squish it. If you are able to be right there beside them, feel confident to let them explore the actual play-dough. As they get older you can incorporate more “tools”. This doesn’t have to be anything special. You can use plastic spoons, forks, knives, plastic animals, cookie cutters and plastic straws to roll out the dough. All things that could be found in your own kitchen. You don’t need to buy anything extra. My girls also enjoy using silicone cupcake liners and candles to pretend to make cupcakes. If you have letter cookie cutters you could make their name or just simply practice letter recognition. If you don’t have the ABC cookie cutters you can roll small pieces into snakes and shape accordingly. See FREEBIE below! The Bible lesson with Play-dough could be Joseph. He was squashed by his brothers, molded by God through patience and became something beautiful. He also had a coat of many colors.
Click to learn the story of Joseph
Melinda’s Play-Dough Recipe:
- 1 C Water
- 1/2 C Salt
- 1 TBSP oil
- 1-2 C Flour
- Optional: Food coloring, essential oil (e.g. lavendar), cinnamon or glitter
Download your free printable
ABC PLAY-DOUGH ACTIVITY SHEETS

Meet Julia!
Julia is a wife to her high-school sweetheart, a mother to two beautiful girls and a follower of Christ. She loves crafting, teaching and is forever grateful for a God who is in control of all unknowns and thankful we can have a peace that surpasses all understanding.
